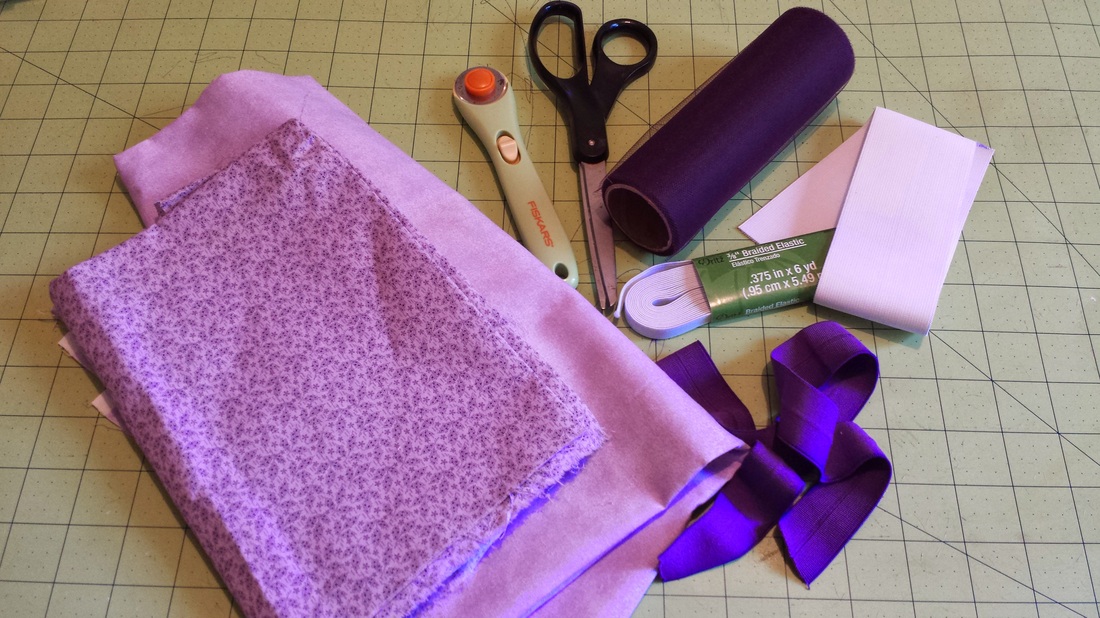
 Here is my doll baby, my daughter Isla, going to her very first tea party. A friend hosted a Mad Hatter-themed afternoon tea and of course, I went overboard on her outfit (of course, I mean, really? An Alice themed tea party is just begging me to pull out all the stops). So naturally, that meant a fascinator and dress worthy of the Royal Wedding, and I scoff at the notion that any clothing store could EVER meet my high standards. Therefore, I marched straight into my local Joann Fabrics (after browsing some ideas on Pinterest) and grabbed up some supplies. An hour or so later, I finally had the complete outfit envisioned. I couldn't find the right fabric in the colors I wanted, so I picked a black and white damask and hand-dyed it at home using a packet of Dylon violet (also available at Joann's). After posting the completed outfit on one of my favorite Facebook groups, I decided to make the pattern and tutorial available, which meant making another one and actually taking pics and measurements this time. First of all, the pattern. Here is a link to the documents you will need to print out. At this time, I only have the pattern available in 24 months/2T size, but maybe I will one day figure out larger/smaller sizes. Link: The Mad Hatter Pinafore Pattern Not included in the link above is the pattern for a circle skirt. For that, you will need to follow the instructions posted below. Now, supplies. You will need:
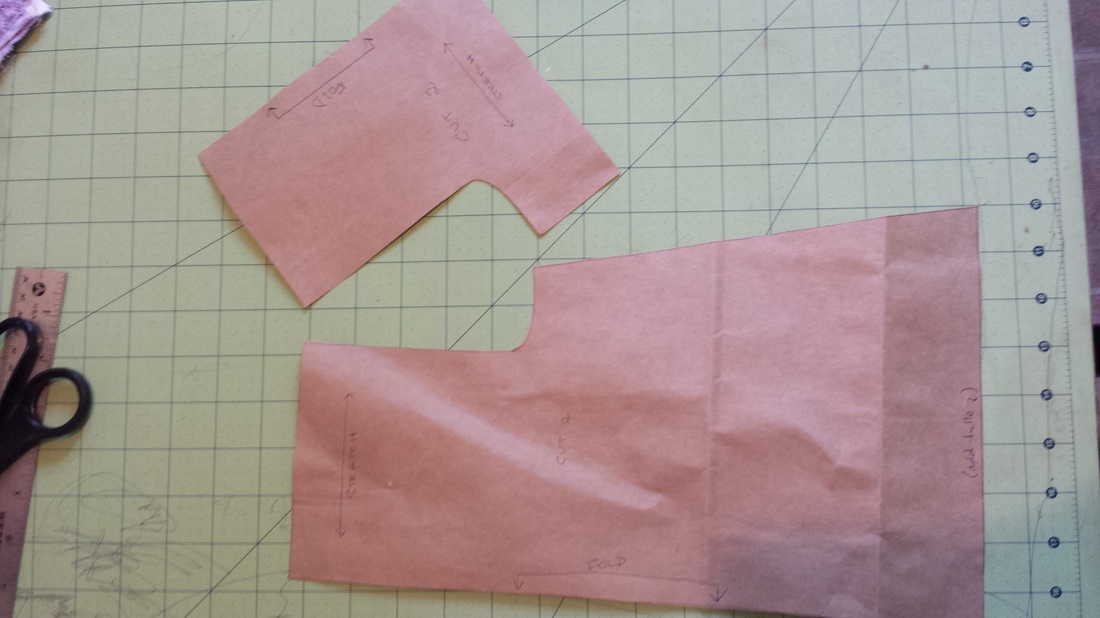
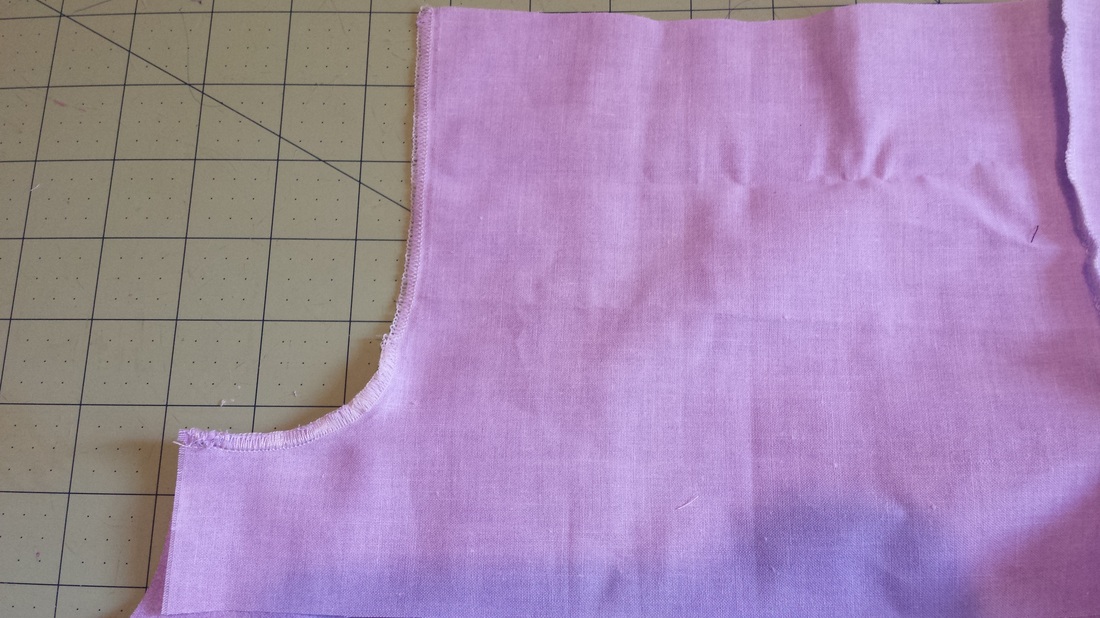
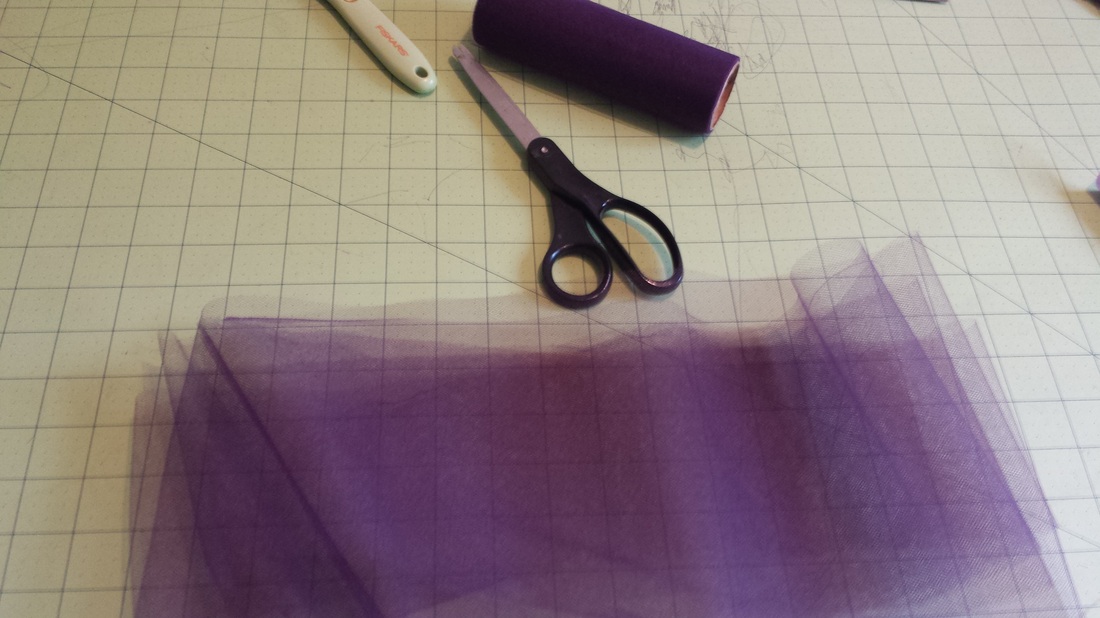
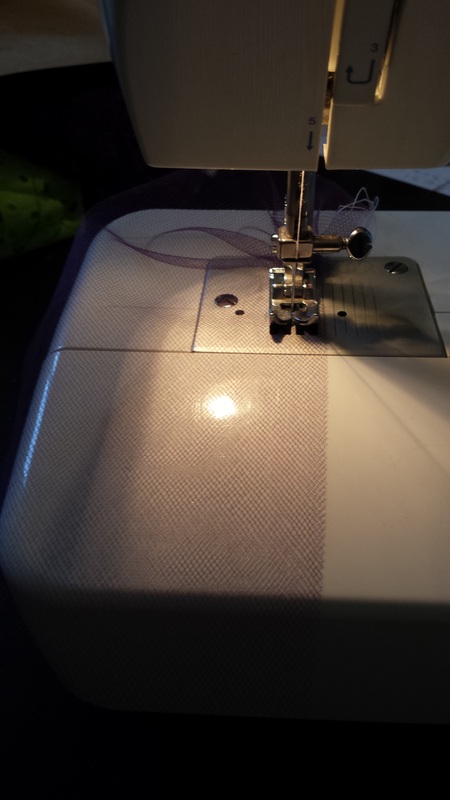
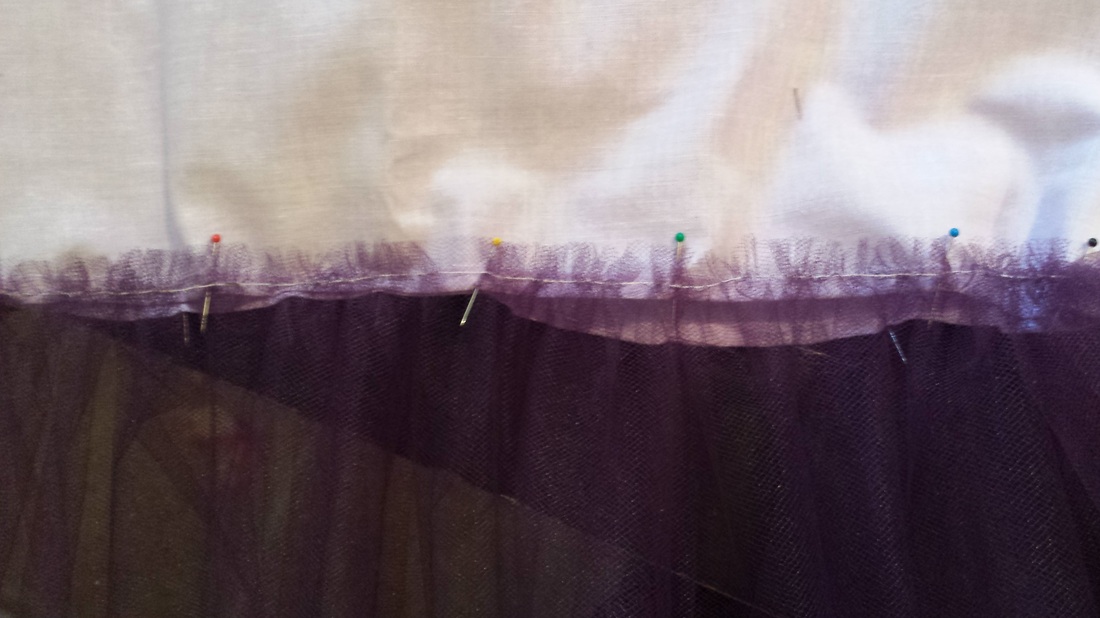
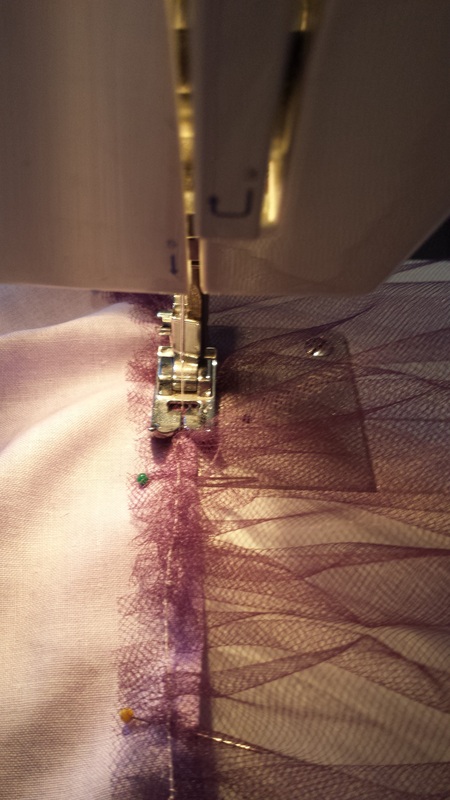
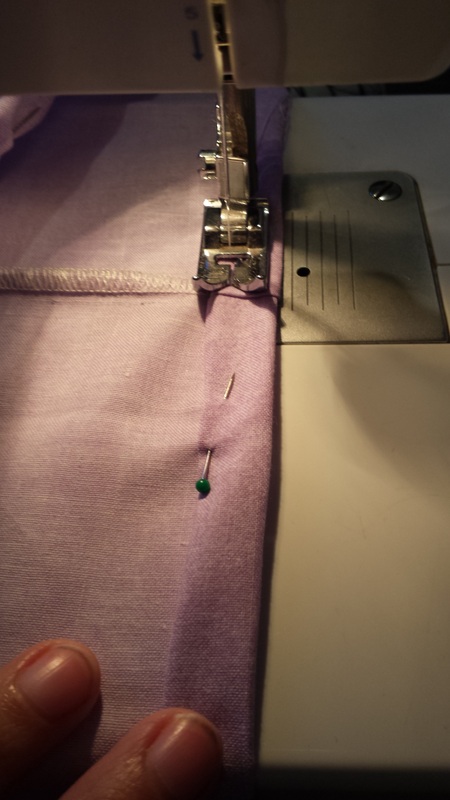
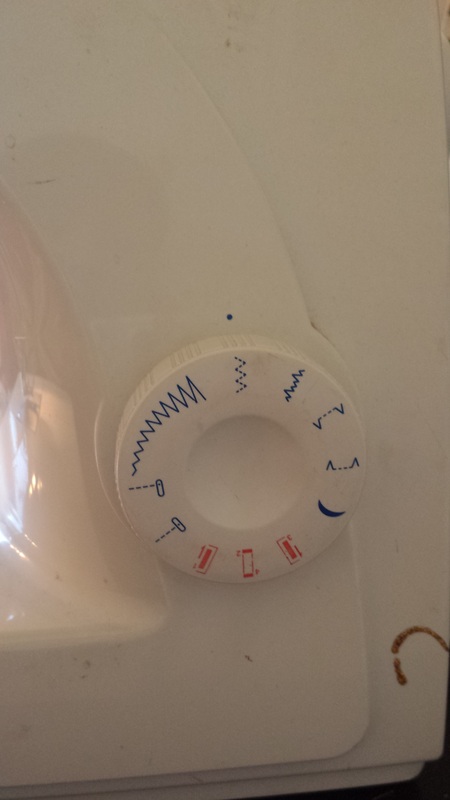
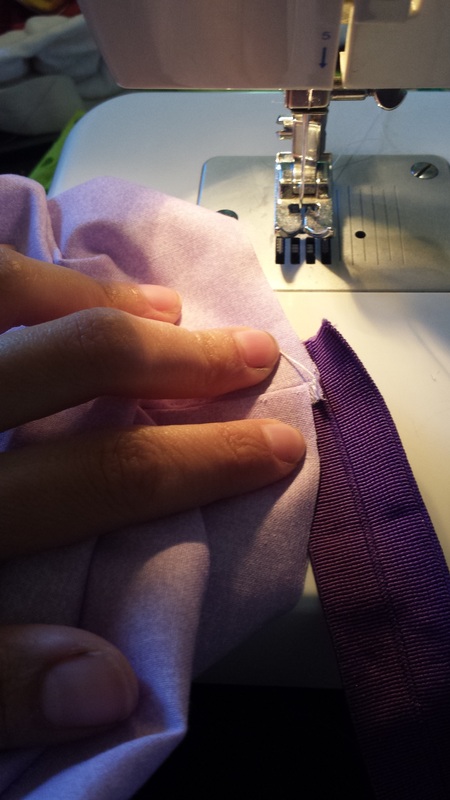
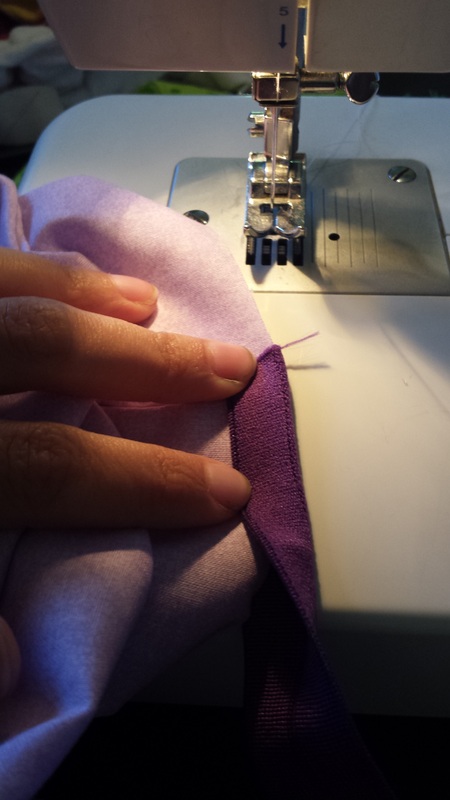
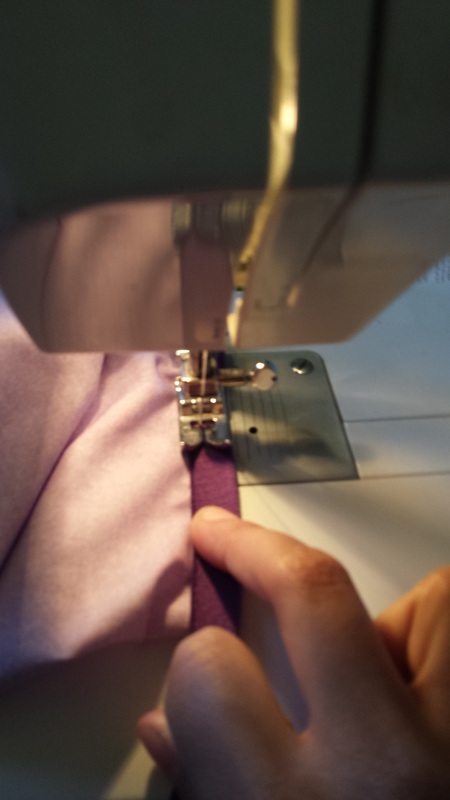
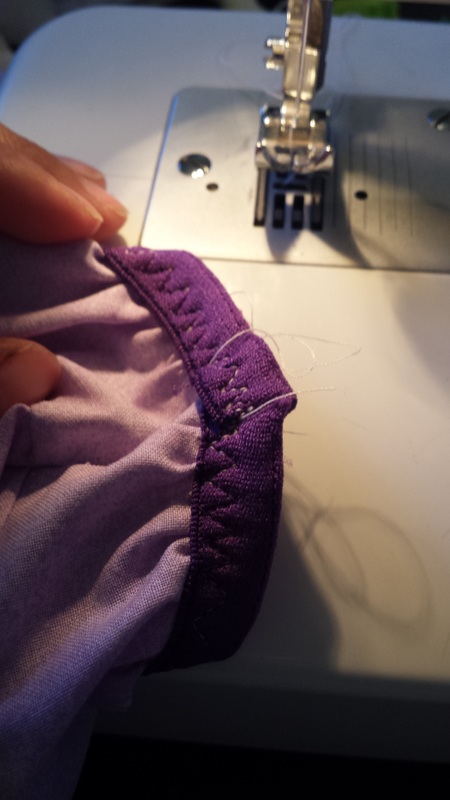
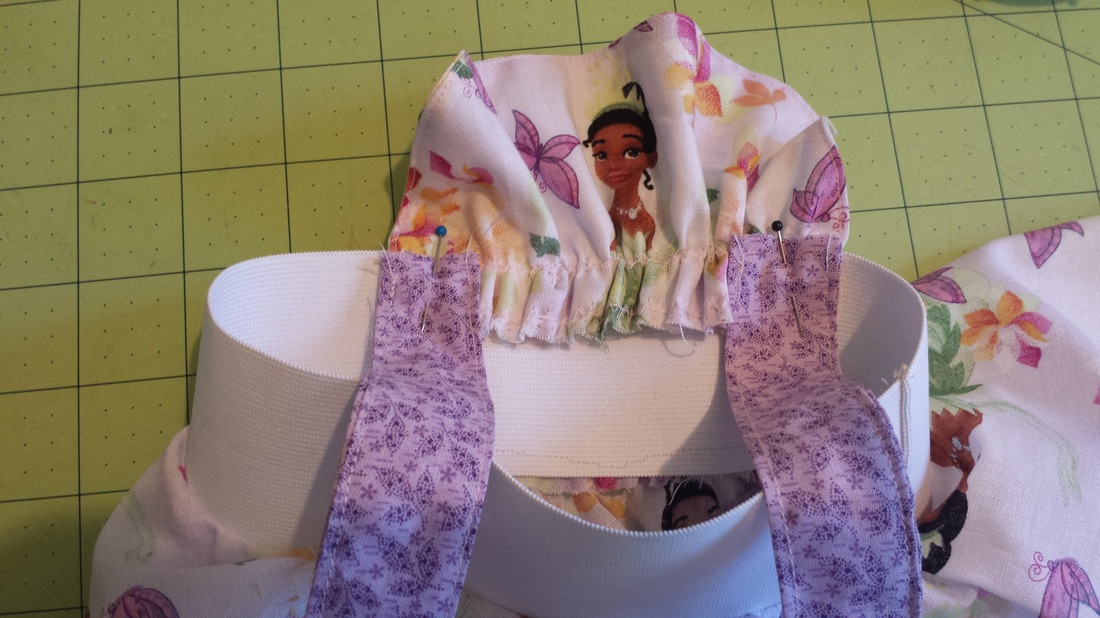
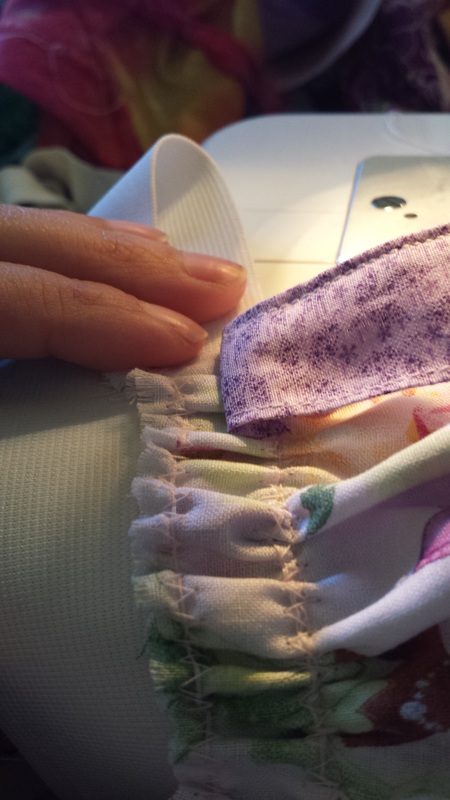
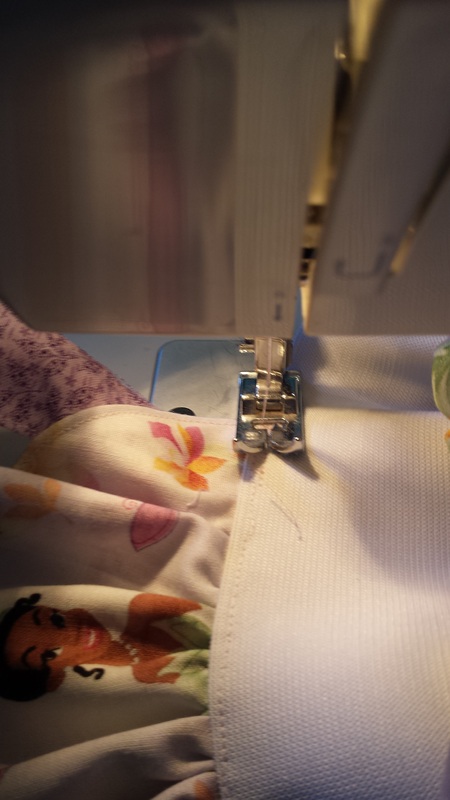
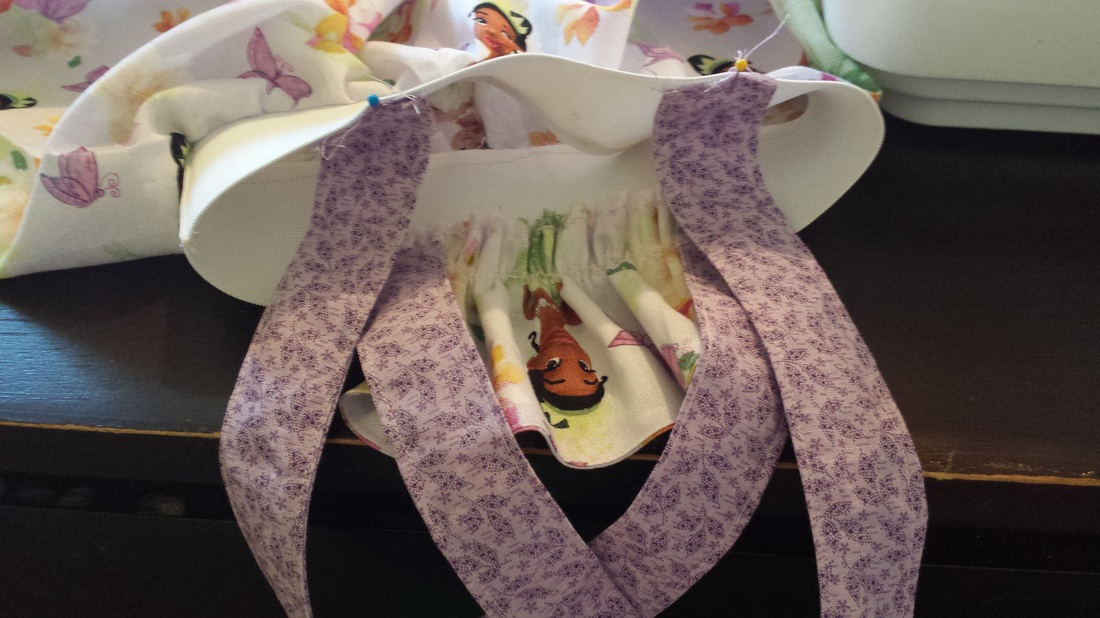
 First of all, I will tell you that I *thought* that I had enough of the purple floral print to make the pinafore, but I did not. So I switched to a Princess Tiana print and that is why it is not pictured above. Oh, and just as a warning, I haaaaate ironing and pressing seams. I also was feeling lazy and didn't finish the seams as nicely as I normally do, with my serger. So don't judge me and my fraying seams. ;) OK, back to business: First, cut out the pattern pieces. The only ones that should need piecing together are the straps and the peasant dress. Tape those together. I like to use paper grocery bags for my patterns, so I trace them onto those as they are more sturdy. Next, with your peasant dress fabric (the dress that goes underneath the pinafore, fold it and place the patterns on the fold as indicated. Cut 2 pieces each of the sleeve and the dress. If you are working with a knit or stretchy fabric, you will want to make sure the stretch goes horizontally, across the chest. For the original dress I made, I used a stretchy black knit fabric, but for this tutorial I am using a regular quilter's cotton woven. There is minimal stretch. Pin a sleeve to one of the dress panels, right sides facing, matching the curve of both pieces. Only sewing the inner curve, and NOT the top or side: Using the same sleeve that you just sewed, pin it to the other dress panel (right sides together) and serge. Do this again with the other sleeve and dress panel until they are all connected. If you turn it right side out and flatten it, the whole piece will look like this (see? I told ya I don't iron): 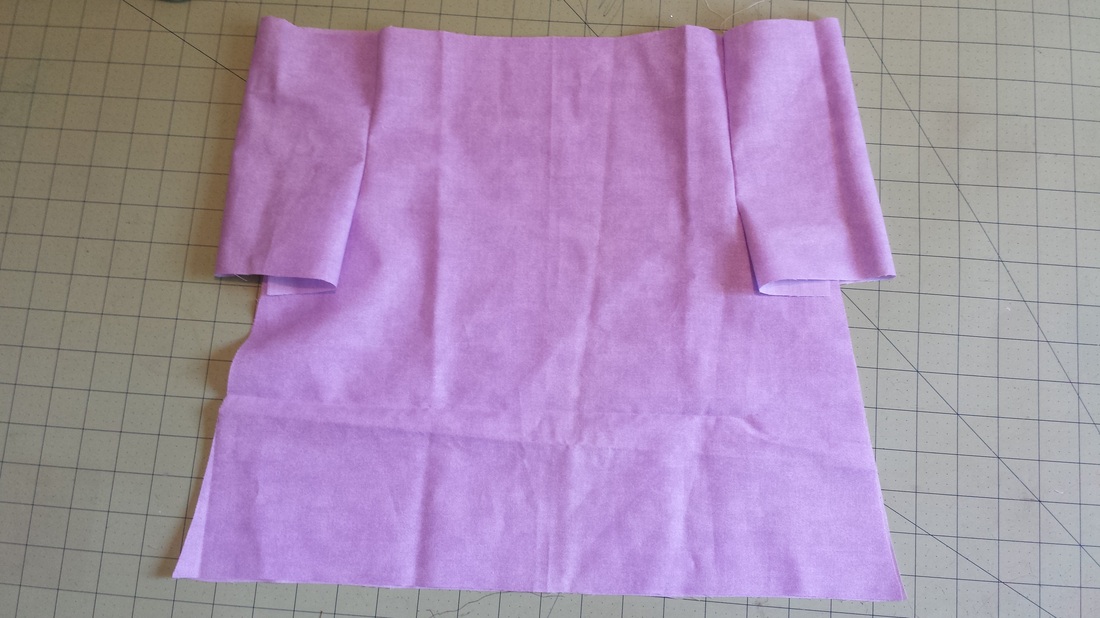 Now, turn it back inside-out and sew up the side seams. 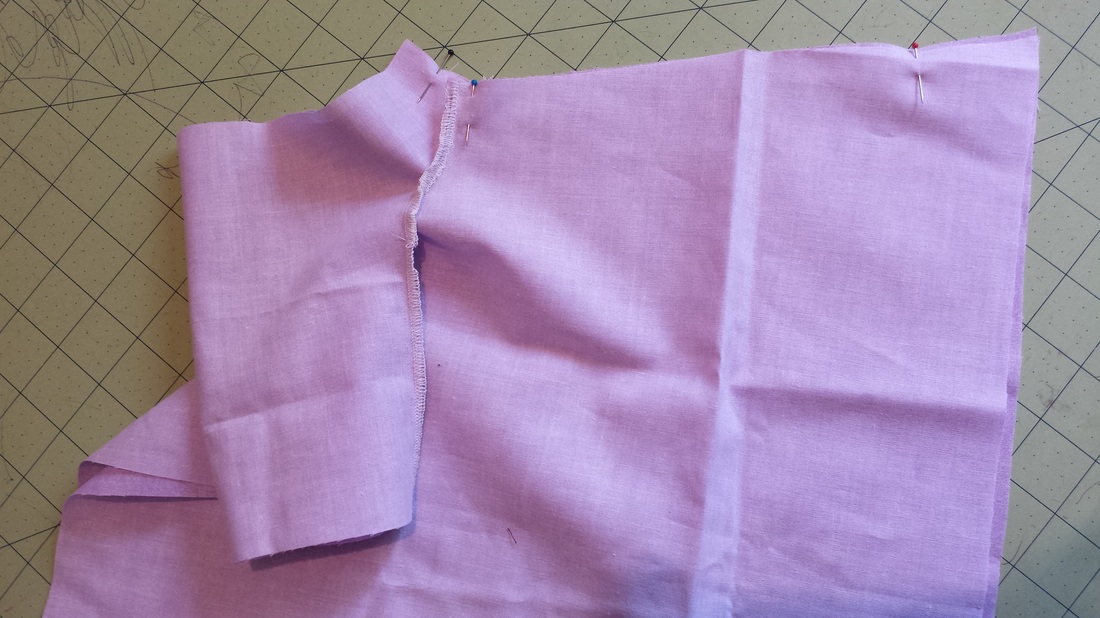 After this, I hemmed the bottom of the dress, and you can do this either with a serger or with a sewing machine. You will be attaching gathered tulle to the bottom, so it's not terribly important to hem, but this fabric has a tendency to fray, so I hemmed it. You can also hem the neckline at this time, if you like, but don't bother with the sleeves if you will be using FOE to finish those (as I did). Now, for the tulle. It's completely up to you how much tulle you want to gather and it depends on how full/fluffy you want the tutu to be. For mine, I rolled the tulle out to the width of the dress, then doubled, re-doubled, etc. until I had 8x the width of the dress. I was able to make two dresses with the tube of tulle, and have some leftover, so I would not skimp on the tulle (on my first dress I actually only did 6 layers of gathered tulle, which was not nearly enough). You can easily multiply the width along one side of the dress by 8 or 10 and have your total amount to cut. However you do it, the next step is to gather. Adjust your machine's setting to the longest stitch and lowest tension and sew along the top of the tulle. Gather it by pulling gently on the threads on both ends, then pin in place. Make sure the dress is inside-out and you are sewing the tulle to the inside of the dress. Bottom is done! Now move to the neckline and make your casing. The quick (read: lazy) way for me to do this is to fold the raw edge over and then fold over once more, with enough room to feed the 3/8" elastic through. If you have never done this before, it might be easier to either hem it separately first, or press the seam and then continue on with the casing. Either way, make sure you have room for the elastic to feed through, and leave a small opening. Now, take your safety pin, attach it to your elastic and feed it through the casing, all the way through. You could measure your child's neck or just eyeball it; either way, the neckline itself is wide enough to fit over the average child's head, it is mostly a matter of how tight round the neck you want it. Sew the edges together, then close the opening that you fed the elastic through with a straight stitch. 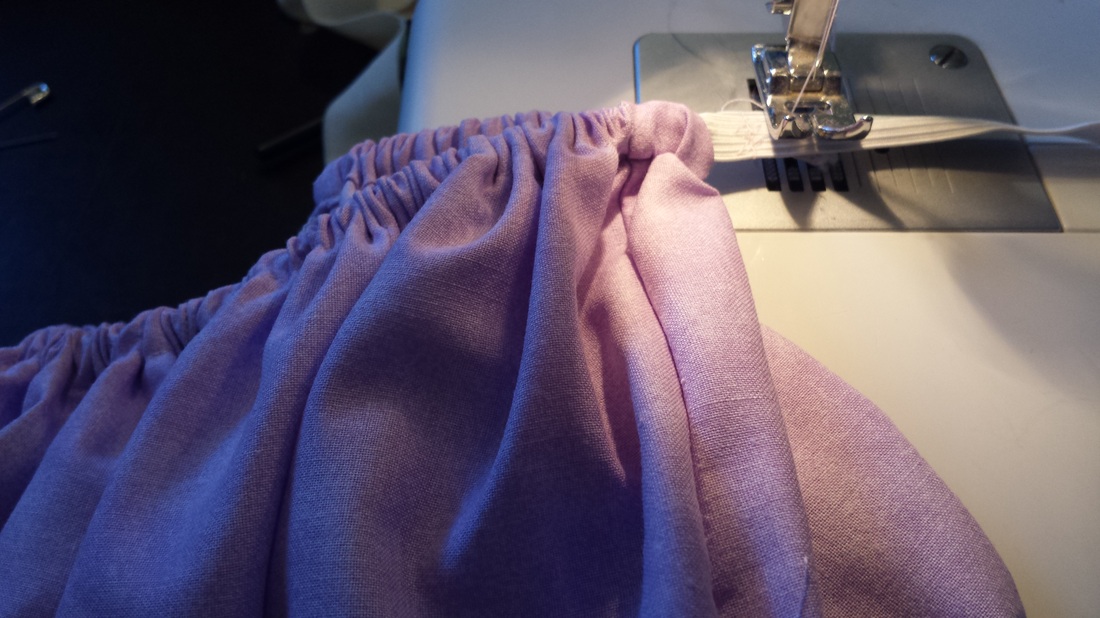 Next up: sleeves! Now, for those of you who are pros at sewing FOE, you will probably agree that this is by far the easiest way to finish a sleeve, but that there is a bit of a learning curve. If you are not familiar with FOE, or are new to it, this step may take you a bit of practice to get just right. The trick is to PULL the elastic as hard as you can manage, holding it down to keep it folded over, and at the same time pulling the fabric in the opposite direction - without breaking a needle. Alternatively, you could finish the sleeve with an encased elastic, exactly as you did for the neckline, or you could gather it and use bias tape. It's up to you! If you would rather the FOE, adjust your stitch to a 3-step zigzag, normal stitch length and tension. Start by folding it over the raw edge of the fabric and tack it down with a few stitches and backstitch. Holding the fabric behind the foot with your left hand, grasp the folded FOE and sandwiched fabric with your right hand and pull as you sew. As you near the end, stop, cut the elastic, fold it down and finish the edge. Now you are done with the under-dress. Yay! Click on "Read More" to continue. 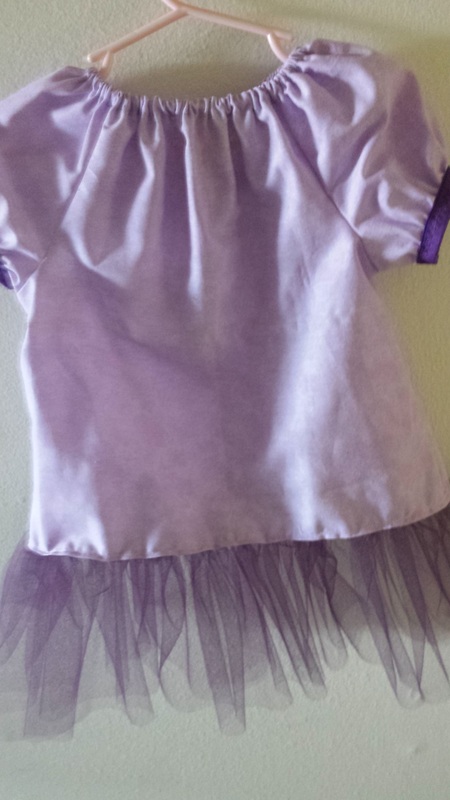 Now on to the pinafore.... Your first step in making the pinafore will be to create a pattern for a simple circle skirt. This involves a bit of math, but this is by far the best explanation I have seen: Circle Skirt Tutorial As you can see, I created mine with a paper grocery bag, which is big enough for me to not have to tape sheets of paper together. I followed the measurements in the blog, as I wanted the same length and my daughter has the same size waist. Then I folded the fabric into fourths, as instructed, and hemmed the bottom. Feel free to hem the top too, if you choose to, and then sew that to the waistband as instructed. Now....I did take some photos of this step, but apparently my phone did not synch with the photo album online and they are lost forever. Oh well. Thankfully, this step is easy. Using the "bib" pattern, Cut out two pieces of the pinafore fabric. Pin them right sides together and stitch along the curve. Leave the bottom straight edge open. Turn, and topstitch along the curve once again, to create a nice, clean look. Now, gather the bottom. My favorite gathering technique for smaller pieces is this one: I did this twice to make it extra ruffled and thick, and then I sewed the bib onto the inside of the elastic. If you like, you can hem or serge the bottom to make it look nicer. Next, you will cut out the straps. Fold them in half lengthwise, pin and sew. Then turn them inside out (use a chopstick or crochet hook), and topstitch both sides to make them lay flat and sturdy. 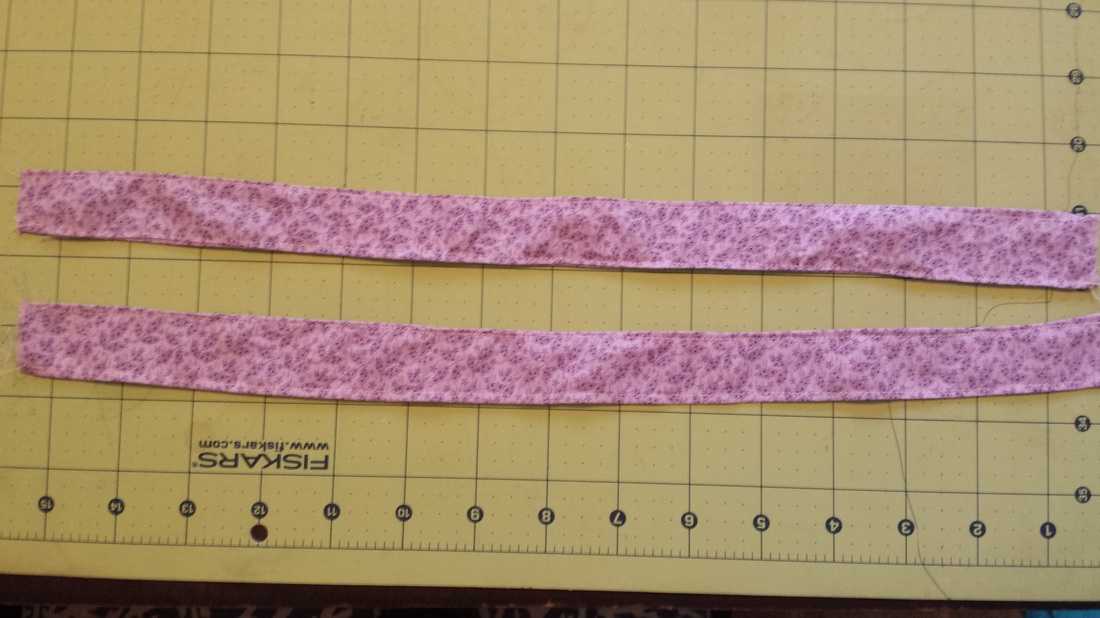 Pin the raw edge of the strap behind the ruffled bib piece and sew through the bib and elastic. Then you will flip the strap up and sew it once more across the same seam to make it lie flat without any raw edges showing. Criss-cross the straps in the back and repeat the same steps for attaching the straps in the back. And....YOU ARE DONE!
2 Comments
|
Meet & GreetHi! My name is Astrid and I am an unschooling, working mama of 3 with an intense need to design, craft and create. Follow me for ideas, tutorials, DIY projects, homeschooling resources and more. Archives
March 2017
Categories
All
|


 RSS Feed
