|
My previous babywearing DIY blog post was the rainbow dye job, using a white tablecloth I owned. It measured 67" x 80", was 100% cotton and was very easy to dye. The tutorial on how I dyed it can be found here. I have been wanting to try my own mei tai carrier for some time, and this was the perfect opportunity. A mei tai (pronounced like MAY-tie) is a type of soft-structured carrier (SSC), almost like an Ergo or Tula, but without any buckles. To secure it, you tie it in a similar fashion to a wrap. There is a body panel with two straps that go over the wearer's shoulders, and one waist strap that ties at the waist. Some mei tais are designed with rings at the waist instead. For mine, I used a great tutorial I found on Pinterest. It gives you instructions on how to draft your own body panel, which I found a little on the difficult side, but you can skip the curves and angles and just make a large rectangle with the same width and height. Here is the tutorial: Handmade Mei Tai Baby Carrier I accidentally made my shoulder straps too narrow, so they are half the size they are supposed to be. I also added a hood, which I freehanded by making a rectangle and adding drawstrings to the sides. For the inner panel, I had a separate piece of osnaburg that I dyed blue. I wanted this to be a Rainbow Dash themed carrier, and will be adding a cutie mark to the hood! When not in use, the rainbow side of the hood is visible. My girl happens to hate wearing hoods, so it is usually hanging down, but when she falls asleep it is nice to have the option to pull it up and keep the sun out of her eyes. Overall, I love this thing. It is super convenient, and very close to being a wrap, which are my favorite carriers. I am not crazy about Ergo carriers, only because I am petite and some of their waistbands are extremely hard for me to get tight enough around my waist. They are also (sorry, buckled carrier fans) a lot uglier, and I like my baby carriers to be beautiful! I have worn this carrier all over town and at several events, including an amusement park. No stroller to park or maneuver through crowds and lines, and when she fell asleep, my husband tied her up and she stayed asleep for much longer than she would have in a stroller. That day, I had two other moms walk up to me and ask me where in the world I got such an amazing carrier, and I was so proud and happy to give them this blog and some basic instructions. I am currently finishing up a carrier made with my last ice dyed creation, so stay tuned for that one! I'll also be making one with a cotton outer, and will be taking pictures of the process, so there will be a tutorial with step-by-step instructions. I'll also be adding a new section to this website: embroidery! Thanks for reading, and as always, I welcome any comments or pictures of your own creations! Also, if you are a DIYer and would like to be a guest blogger for a project idea you have, feel free to email me! 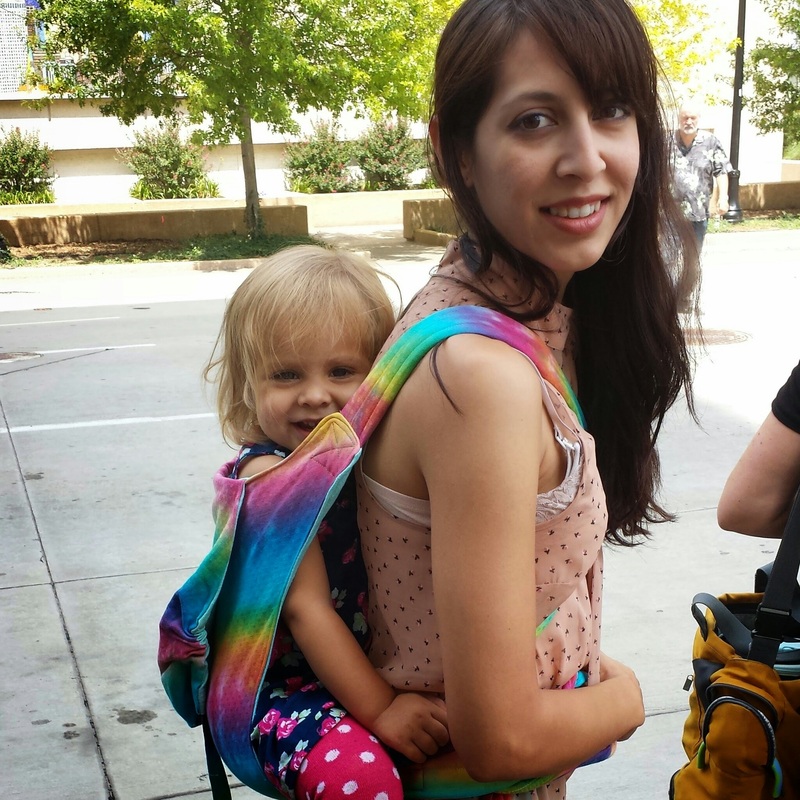 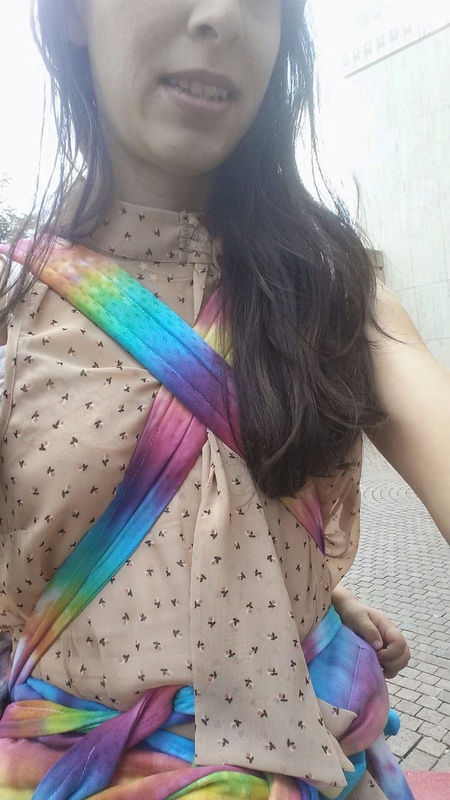 I like to cross the straps in front, swing them underneath her legs, cross in the back and tie up front. 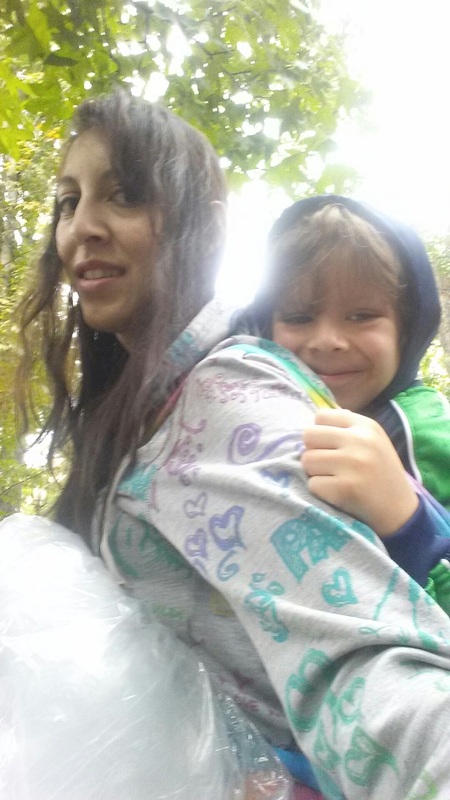 It holds my 5 year-old as well! 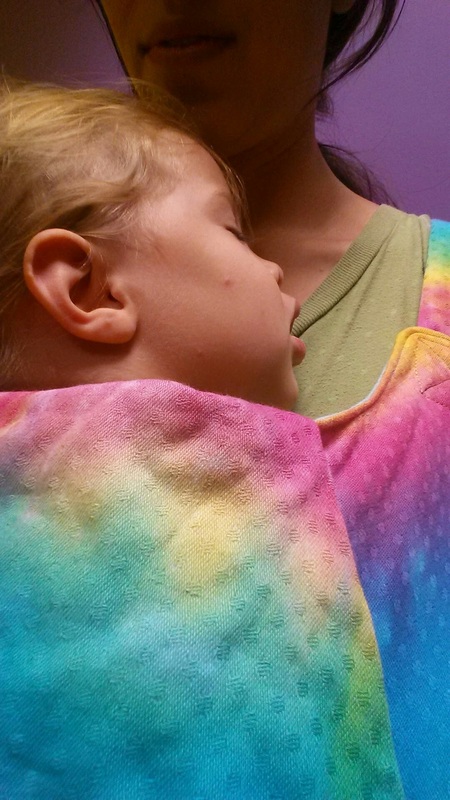 Plenty of sleepy dust in this carrier! 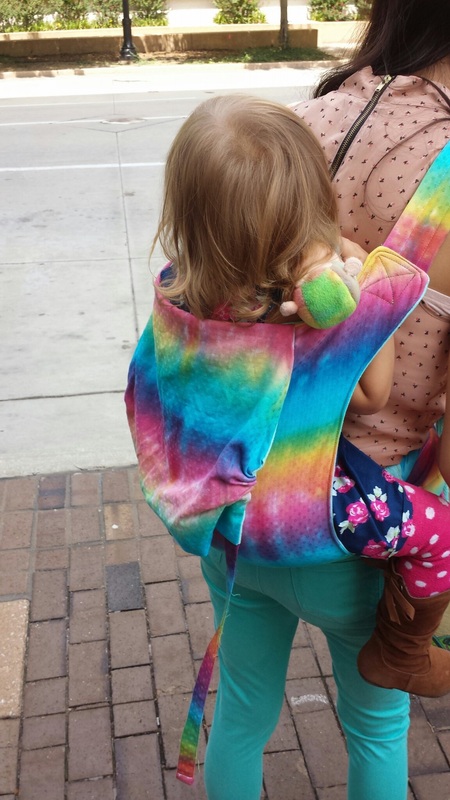
0 Comments
|
Archives
August 2015
Past ProjectsCategories |
 RSS Feed
