|
If you're not a fan of resist dyeing, try your hand at painting with dye! This works well if you have a lighter base color and are painting a darker color on top, unless you desire the painting to blend with the base color and make a secondary color. To begin, you will need the following supplies:
To prepare thickened dye, I like to premix in an empty container first, without adding the dye. I use either a baby food jar or an empty coffee creamer container. When using sodium alginate, you need to wait about an hour for it to thicken before using it. Since I dye pretty regularly and don't like waiting for dye to thicken, I make a bulk amount of thickener in advance. I start with a bit more than the ratio recommended on the package (Dharma recommends 1/8 tsp sodium alginate for 6 oz warm water). I find that I prefer a thicker texture and use about 1/4 tsp per 6 oz of water, and then I double the recipe and use a coffee creamer bottle to mix it in. When mixing, you need to make sure that it is completely dissolved. This is very difficult, since it likes to thicken on contact and clump together. You can use a blender to mix it, if needed. You may want your dye to be even thicker than this (for example, you want a very detailed design rather than a hand brushed, all-over color), and to do this you would measure out more sodium alginate. I sometimes use as much as 1/2-1 tsp of sodium alginate instead of the recommended 1/8 tsp. Once you have dissolved it, let the bottle sit for at least one hour in the fridge. The thickened water will keep for weeks, which is why I like to prepare a batch in advance. 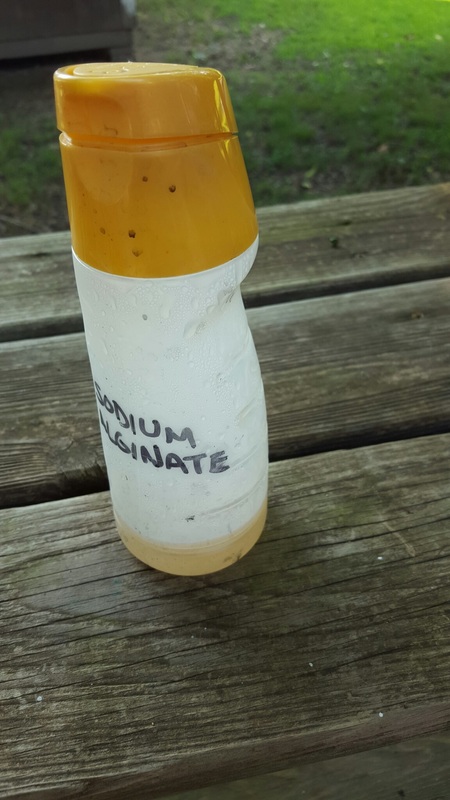 How I like to store my prepared sodium alginate solution. Now you can pour out the amount of liquid needed to mix the dye for your painted design. I like to use a small plastic cup or a baby food jar. For a small amount, I pour out 3 oz of my prepared thickener and add 1/2 tsp of dye (depending on the color; some colors require more dye). Mix it up and you're ready to paint! If you need to make your own stencil, freezer paper is perfect for this, because it can be ironed to the fabric while you are painting. To make a stencil, find or make your image (Google image or type out your message on MS Word, etc). If you're printing it from the computer, you can either print it directly onto the freezer paper, or you can print it onto computer paper. Next, adhere the computer paper (if applicable) to the freezer paper and use an X-acto knife to trace and cut out the design. With the waxy side down, iron the paper to the fabric. Use your paintbrush to apply the dye in the stenciled areas, and peel off the paper. If you are doing a repeat pattern throughout the fabric, you can continue to iron the freezer paper over and over until it is no longer needed. As you paint, you will want to check the underside of the fabric and ensure that it is fully saturated all the way through. I normally paint on top of cardboard, or you could suspend it in a hoop to make sure that the dye penetrates to the other side. 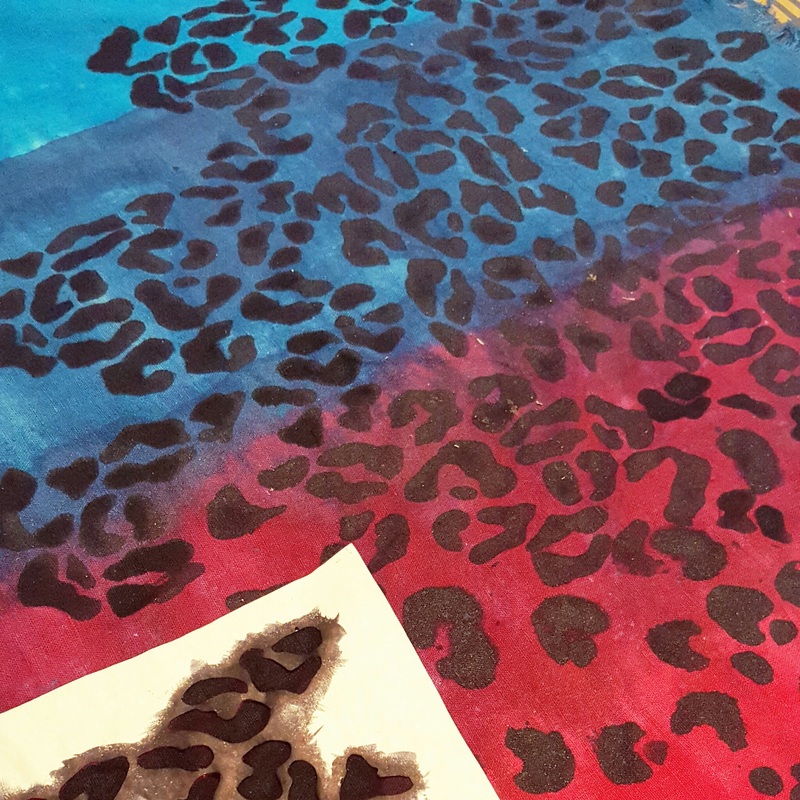 Seeing spots! 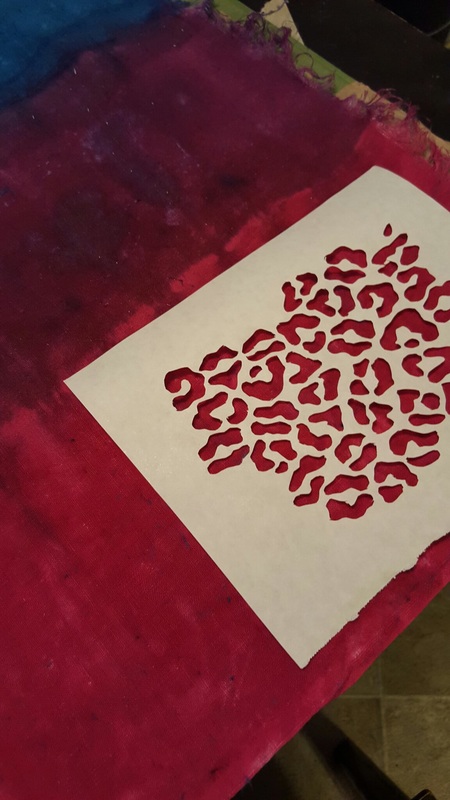 Freezer paper stencil 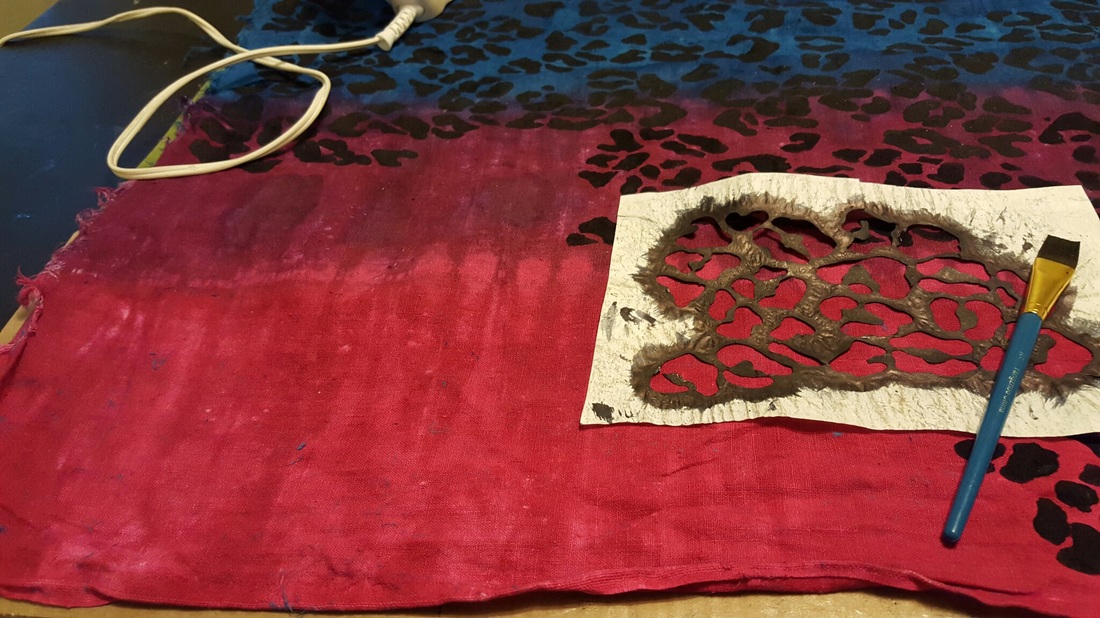 Ironing the stencil and painting the thickened dye onto the fabric. A note on soda ash: since you are working with fiber reactive dyes, you will need a "fixer" to make these dyes permanent. Soda ash, or washing soda, is necessary for any procion MX dye. To apply the soda ash to your painted design, you have two choices: you can either presoak the fabric in soda ash solution (1 cup per gallon of water) and wait for it to dry, or you can spray the fabric down with soda ash after the thickened dye is applied. For the sling pictured in this tutorial (I call it a Lisa Frank inspired leopard!), I first tie dyed the fabric in solid stripes of fuschia, raspberry, cerulean blue and turquoise. I used sinew to tie it and had presoaked it in soda ash solution. After batching overnight in the summer heat, I rinsed and washed thoroughly, then dried. Next, I mixed some black dye powder with my prepared batch of thickened dye (I keep a batch in my fridge at all times!), and painted the spots on using a freezer paper stencil that I made. After I finished the spots, I sprayed the fabric with soda ash water and let it batch until dry. I then washed and dried as usual, getting rid of all excess dye and making it colorfast. I find that the best way for me to rinse my dyed wraps and slings is to do 1-2 cold wash cycles in my washing machine, then a hot water soak with Dawn dish soap. You only need a drop or two, and it will help release any loose excess dye. Then do another hot wash and check to see if the water is clear. Rinse until the water is clear, then air or machine dry. Dyeing and painting fabric is a lot of work and requires time, patience and most importantly, research! I hope this tutorial helps inspire you to try hand dyeing!  Lisa Frank-inspired ring sling, hand dyed and painted by New Earth Baby
1 Comment
Julia Fleming
1/30/2022 12:07:02 pm
Thank you so much for these instructions. I really needed this info and you make it sounded so simple. Leave a Reply. |
Archives
August 2015
Past ProjectsCategories |
 RSS Feed
