|
We woke up to a rainy Saturday morning and the kids and I decided that it was the perfect day for doughnuts. I didn't have time for yeast recipes, which require kneading and rising, and I don't own a doughnut baking pan do cake doughnuts, so I search until I found one that did not require yeast. They turned out so delicious that I just had to share it with you, so here is a wonderful yeast-free recipe for fried doughnuts/donuts (however you prefer to spell it): *Original recipe was found on Allrecipes.com, but I had to change the measurements, based on the reviews of the recipe and my available ingredients, so here is my version* Yeast-Free Quick and Easy Doughnuts Yields about a dozen small doughnuts, or 5-6 large ones 2 tablespoons white vinegar 1/2 cup milk 2 tablespoons butter, softened but not melted 1/2 cup white sugar 1 egg 1/2 teaspoon vanilla extract 2 cups flour 1/2 teaspoon baking soda 1/4 teaspoon salt 1 quart of vegetables oil for frying confectioner's sugar for dusting (optional) 1. Stir the vinegar into the milk and let it sit. 2. In a medium bowl, cream together butter and sugar until smooth and even. Add the egg and vanilla. 3. In a separate bowl, put the flour, baking soda and salt into a sifter (I use a small colander!) and soft together. 4. Stir the flour mixture into the sugar mixture, alternating with the milk/vinegar mix. 5. Roll out onto a floured surface and cut out into doughnut shapes. I used a glass for the larger circle, then a bottle cap or the small hole in the middle. Let sit for 10 minutes, while you prepare the skillet for frying. 6. In a large, deep skillet, pour your vegetable oil in and heat on med-high. Oil is ready when drop of water sizzle on contact. Place the doughnuts in and wait about a minute or so, until the bottom becomes hard and golden brown. Turn over with a fork and repeat. Use the smaller inner pieces cut out with the bottle cap for donut holes and throw them in, too! 7. Let them cool on paper towels, or on a baking rack. When cool, you can dust them with confectioner's sugar, or if you're like me and ran out of powdered sugar, brush some melted butter over them and sprinkle with granulated sugar. You could also make a frosting or simple icing using powdered sugar, if desired. Good morning, doughnuts. I love you. 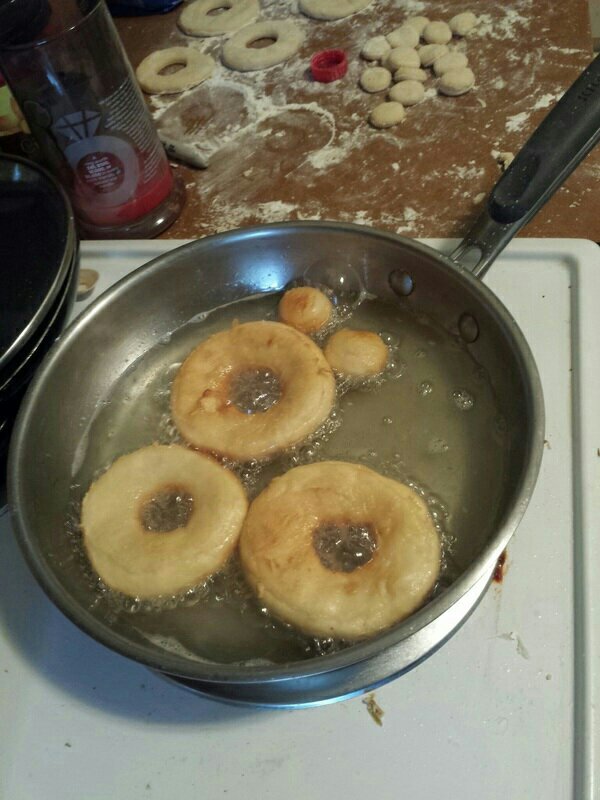
A bit messy, but well worth it!
2 Comments
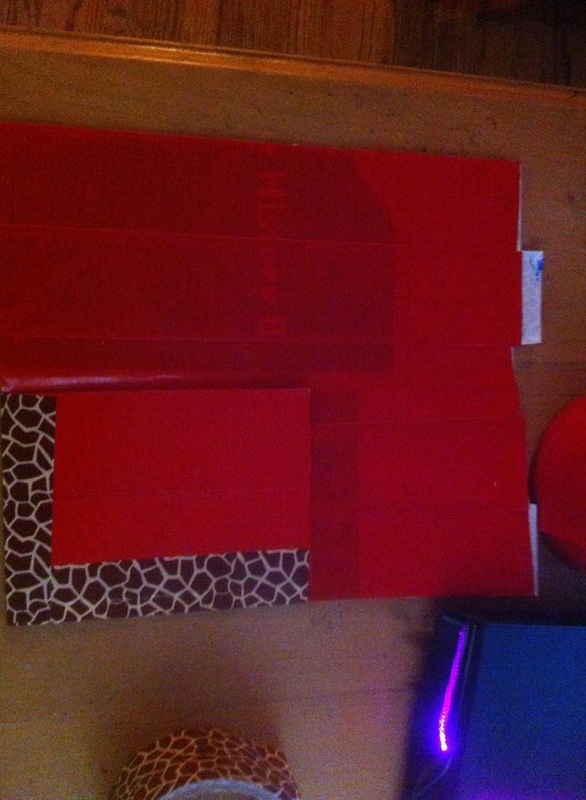
 As some of you may know (you are either participating in this campaign, or have gotten a knock on your door!), the month of August is a momentous one in the history of Jehovah's Witnesses. These special tracts are being distributed simultaneously throughout the entire world, directing attention to jw.org - a great resource for Bible education. To assist in the distribution of tracts, my friend, Michele, has come up with a genius DIY project - tract holders! Here are her quick and easy instructions (photos are not mine): 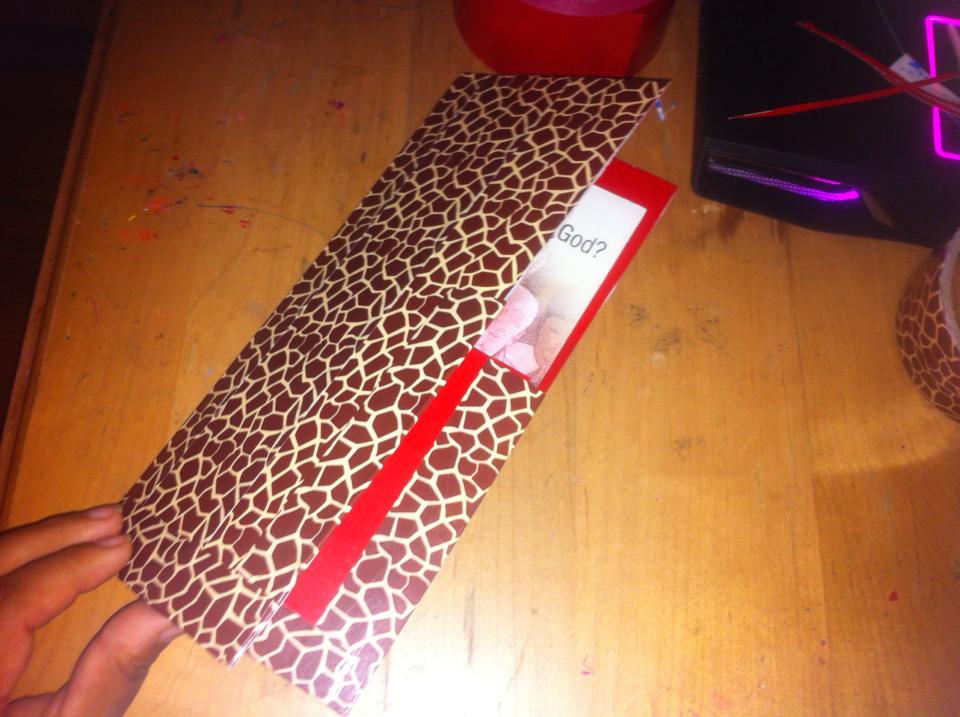 Supplies:
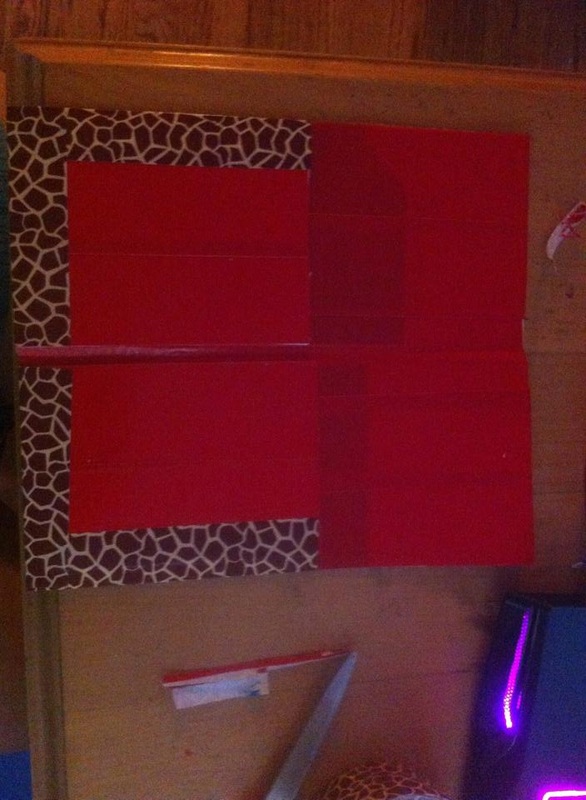
Step 1: Cut hard stock paper bigger than the tract. Place less than 1/2 inch apart for folding ease. 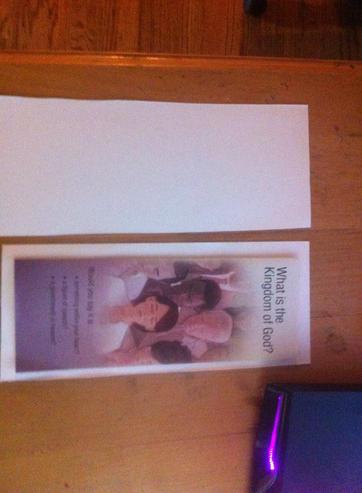 Step 2: Cover outside in duct tape. You can buy cool designs at the dollar store. 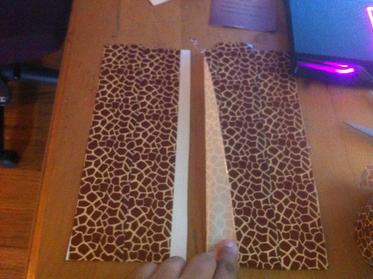 Step 3 Cover the gap in between the two sides. You can use a contrasting color or print. This one is red on the inside, and you can see that the larger gap allows the holder to bend in half more easily. 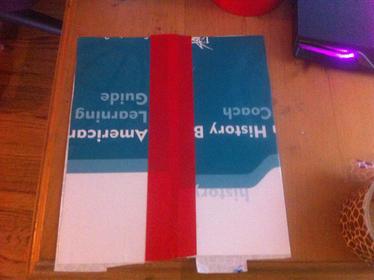 Step 4: Cut a smaller piece of card stock and cover it in the same tape that you are using for the inside (see smaller red square on the right).  Step 5: Attach the smaller pieces to either side of the holder by placing some tape alongside the edges, overlapping both sides. Be sure to use the same pattern/color duck tape that you used for the outer design.
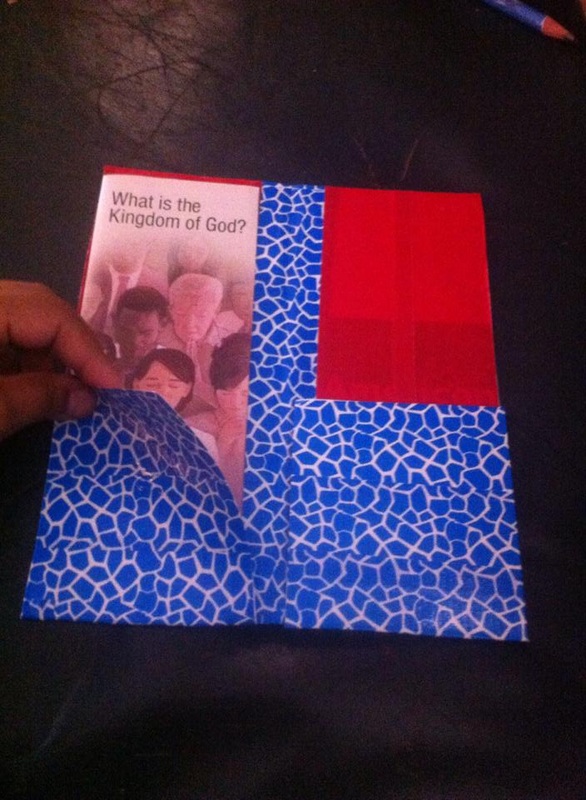
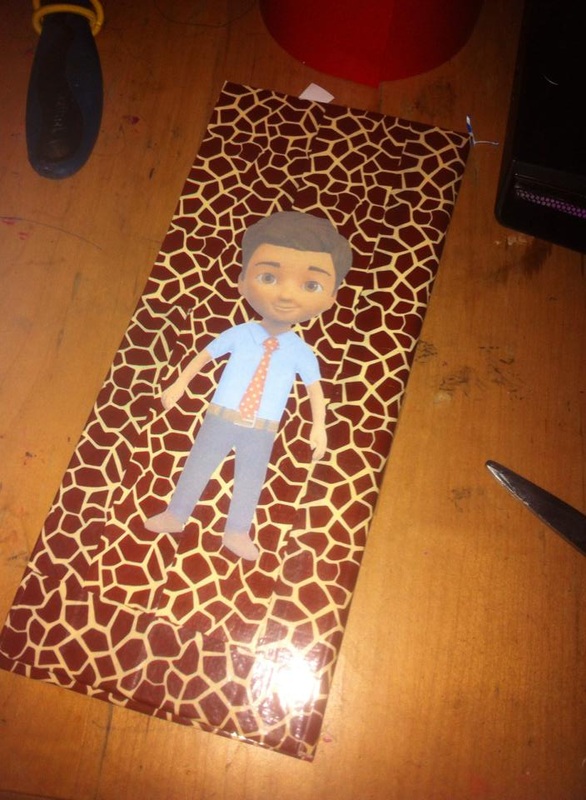
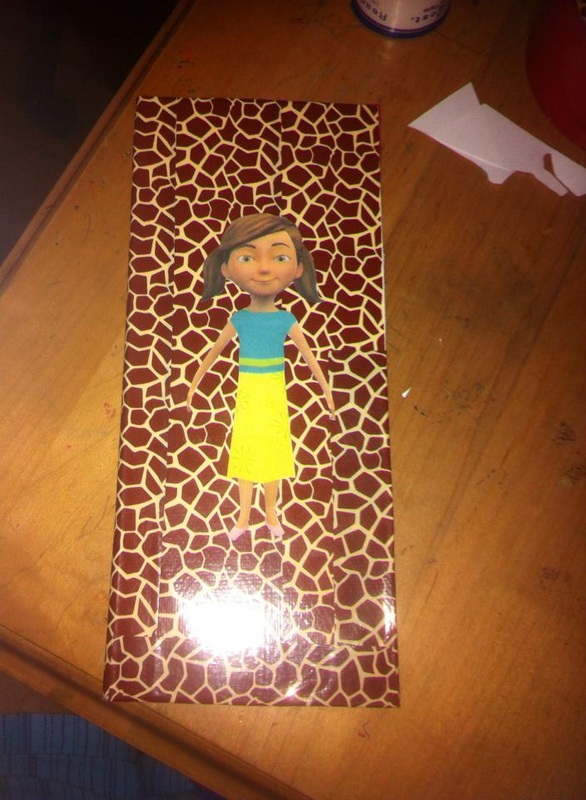
You can customize it if you like, but if not, you are done! Michele finished hers off with cutouts of Caleb and Sophia (the stars of the jw.org series, Become Jehovah's Friend). She attached them by cutting out the printed images and taping over them with clear packing tape. So simple and quick! You can see her finished tract holders:
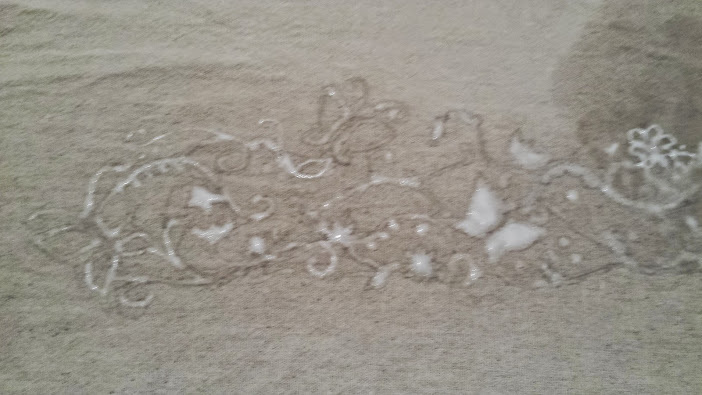
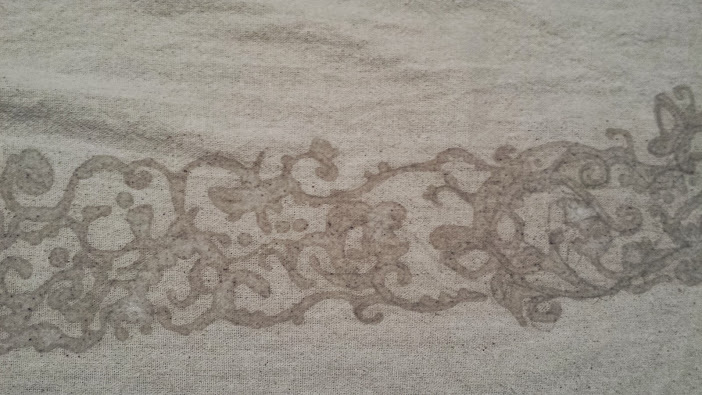
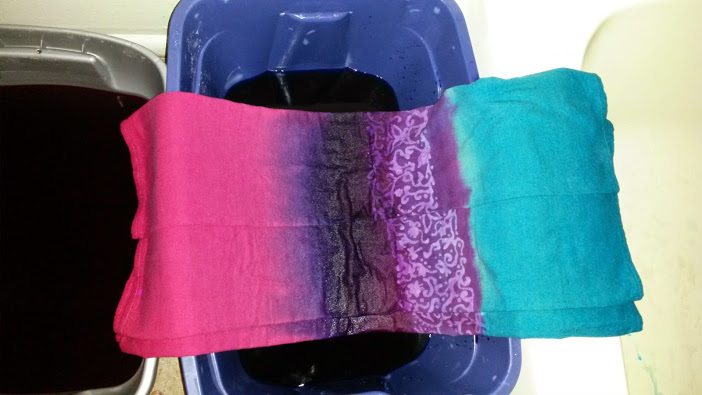
If you are participating in this campaign, maybe you can try this project with some younger ones. Feel free to pin, share and/or comment below. Thanks for reading, and a big thanks to Michele for sharing her wonderful idea!  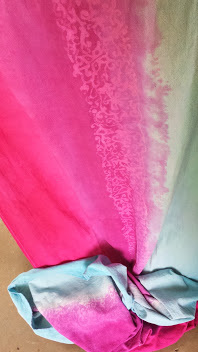 This past week, I have been working fervently on a wrap ordered and paid for by a friend. It was my first paid dyed wrap job and I was excited to get started on it. It's all ready to ship out, but before I say goodbye forever to my creation, I will share it with you. My friend told me what colors and style she was thinking of, and gave me some "artistic freedom" in deciding the logistics of the design. I settled on professional Procion dyes orderd from dharmatrading.com and ordered the osnaburg natural, pre-shrunk fabric from fabric.com (it says pre-shrunk but I knew better and ordered extra. It ended up shrinking about half a yard lengthwise). I knew I would be doing a grad dye and chose Turquoise (#PR25) and Fuchsia Red (#PR13). Both of these are primaries, meaning that they will mix together perfectly. There are dozens of pinks and blues to choose from, but some of the other shades are mixed with other colors and I only wanted pure pink and blue to ensure that when they mixed on the fabric, they would turn the right shade of purple. After prewashing, measuring, hemming and scouring, I dried my fabric and started the glue resist. I tested it on several scraps of fabric. My initial plan was to just brush over a piece of still craft lace that I had in my craft closet. Boy, did I ever underestimate just how hard it is to stencil lace with glue! Needless to say, all of my attempts to stencil a lace design with Elmer's glue failed miserably. I tried watering down the glue, dampening the fabric, printed out stencils from Google Images and cut them out with an X-acto knife, and using a lace curtain I have. None of them came out as detailed as I wanted it to be. So, freehanding it was! About 4 whole yards of it. It took me hours, but was pretty happy with how it turned out.
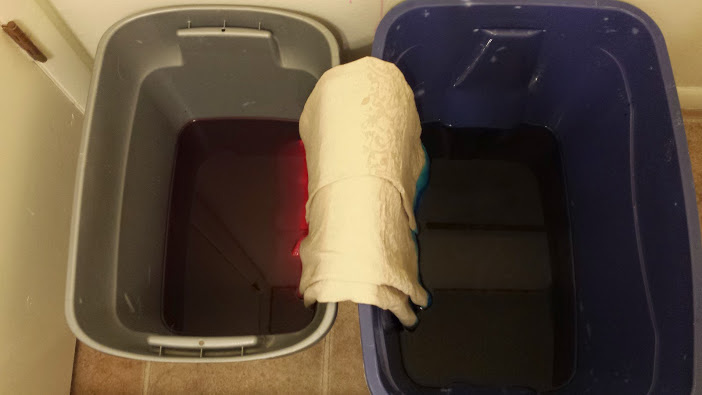
I did a grad/ombre dye effect in the fuchsia dye on one rail, turquoise on the other. Where they met in the middle, I added purple made up of both of these colors, mixed in a squirt bottle.
Unfortunately, most of the purple washed out. It was just too diluted. The glue washed out, as well, making it impossible to re-do, but in the end, after the wrap was rinsed and dried, the purple is still visible. After a few hiccups (having to re-dip the rails for deeper colors), I finally got the end result I was looking for: bright, vibrant fuchsia and turquoise, with a delicate lace design running along the middle. Depending on the type of carry being used, the lace stands out beautifully. My friend is thinking of converting it to a ring sling, which I think would be perfect, as well, and will showcase the subtle purple splendidly. So, since my little diva was not in the mood to play, I had to practice with Teddy. I learned that teddy bears are actually more difficult to wrap, having no knees or weight in their seat! But here it is: 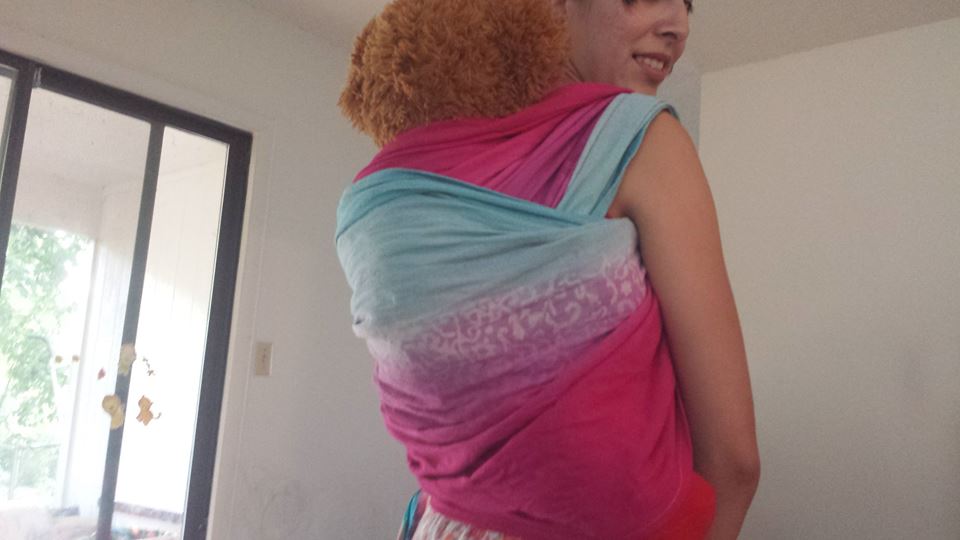 I am still a novice dyer but am learning it quickly and am loving it so far. Another project I worked on simultaneously was a Batman tie-dye shirt for my son, and another dish towel. Unfortunately, the Batman shirt was a bit of a fail. My son loves it, but I will be attempting it again soon to perfect the batwing! As for the kitchen towel/unpaper towel, I attempted my first heart design and loved how easy it was, and how it turned out! 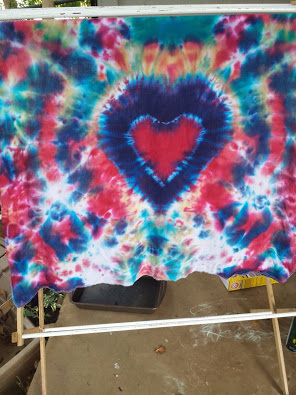 Double hearts! I also completed a Rainbow Tablecloth, which is posted as a separate tutorial here on my blog. Check it out!
I hope to get more tie dyeing jobs in the future. This was a lot of fun, I learned so much along the way, and I get to see someone else enjoying and using my creations. Win-win! For more information on how to order your own custom-dyed fabric from me, click here. Until next time...! |
Meet & GreetHi! My name is Astrid and I am an unschooling, working mama of 3 with an intense need to design, craft and create. Follow me for ideas, tutorials, DIY projects, homeschooling resources and more. Archives
March 2017
Categories
All
|
 RSS Feed
