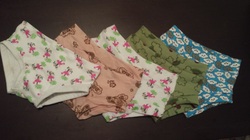
 Aptly named after my little girl, the Super Girl Undies are perfect for early potty trainers. My girl doesn't turn 2 until the end of next month and is getting pretty thinned out as she grows taller. We didn't expect her to potty train so quickly, and I was totally unprepared. For the first day, she had to borrow her brother's underwear! They are a trim fit, thin and easy to take off and slip on. The best part is that they take only about 15-20 minutes to make, including cutting and assembly, and do not require elastic, hemming or bias tape. To start, you will need a cute knit fabric. The cuter, the better! You can use any type of cotton knit, interlock, jersey or even thermal. Anything that has a very good stretch will work, but if this is for underwear, you will want to stick with cotton and natural fibers. Of course, you could use this pattern for swim bottoms and use a nylon swimsuit material! Materials:
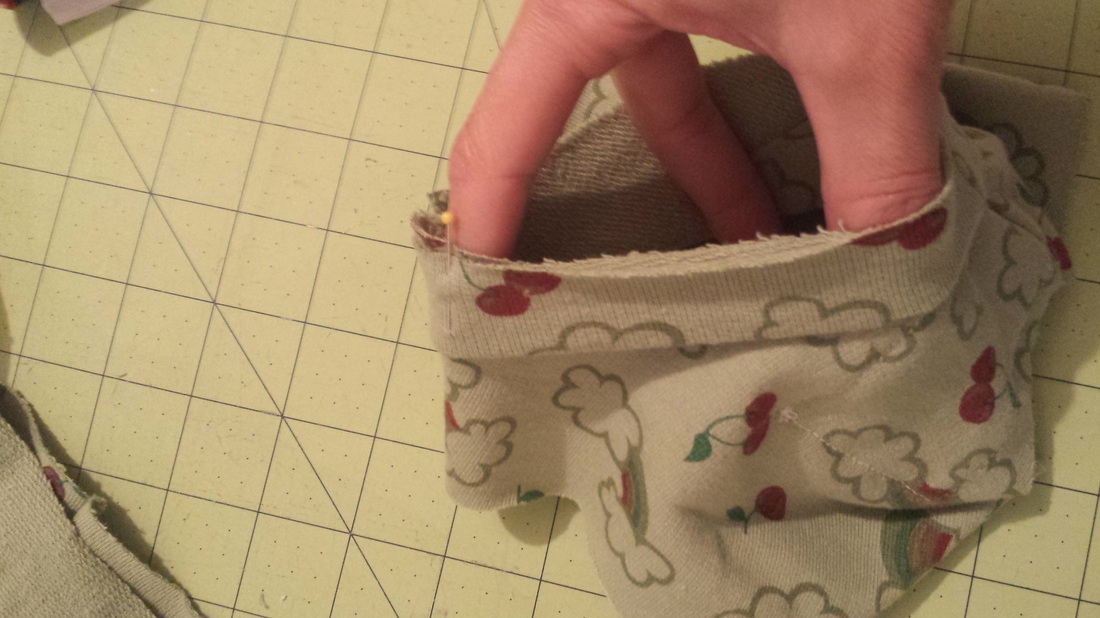
Instructions: Print out your pattern. Make sure that your printer settings are adjusted to print the page out as "Actual Fit". Cut out the two pieces. Fold your fabric in half and lay the pattern pieces on the fabric as directed. You will notice that the pattern piece will tell you which direction the stretch needs to go. This is very important, because if you cut it the wrong way, your undies will not stretch over your child's hips. Cut on the fold, one of each. Next, you will need to cut the leg bands and the waistband. The leg bands will be small strips measuring 5" long by 2" wide. Cut four of these with the stretch running lengthwise across the strip. For the waistband, you can either cut one long 15" x 3" piece, or two 7.5" x 3" pieces that you would sew together to make one long piece. If you are using less than 1/4 yard of knit and using up scraps, this is a good way to fit your waistband. Make sure that the stretch is lengthwise across the strip, maximizing the stretch. You will have the following pieces:  Next, sew the front and rear panel together by placing the right sides together and sewing along both sides and the bottom. When sewing with knit fabrics, I like to use my serger, but for these, I just used my regular Singer sewing machine. To avoid puckering, adjust your settings to a longer stitch length and loose tension. 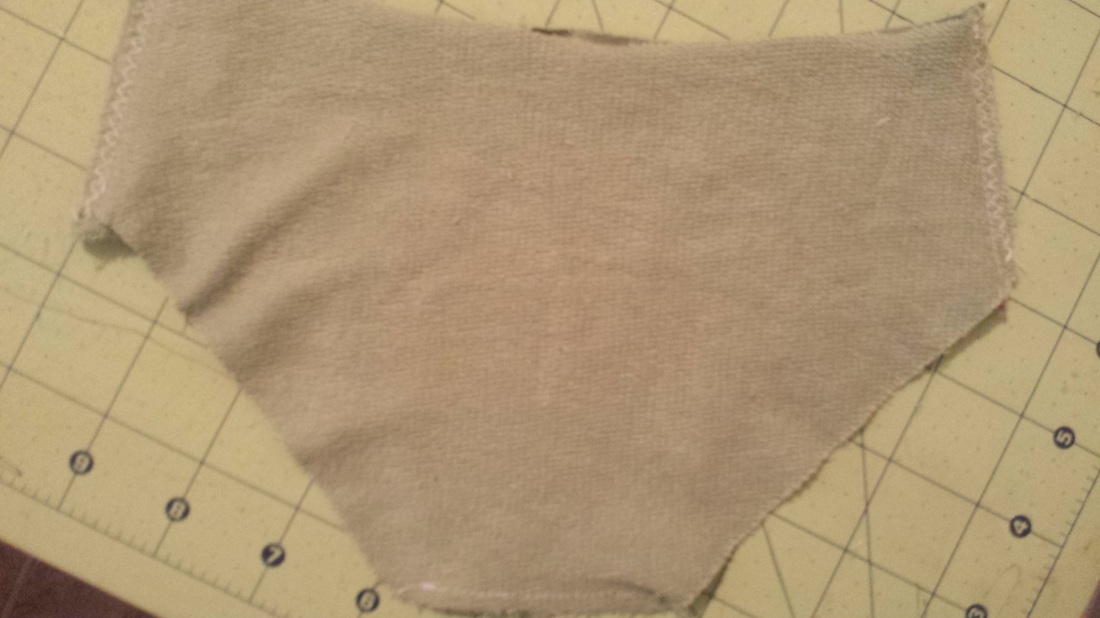 You can turn it right side out and set it aside, or you could choose to sew some extra padding/soaker panels into the crotch area. To do this, I cut two more 5"x2" pieces (stretch is not as important for this step, so use some scraps, or choose a more absorbent material if you are using these as trainers). Pin them to the inside and sew down. I was not paying much attention and accidentally pinned them down crooked, so you might want to take more more and straighten it. Oops! 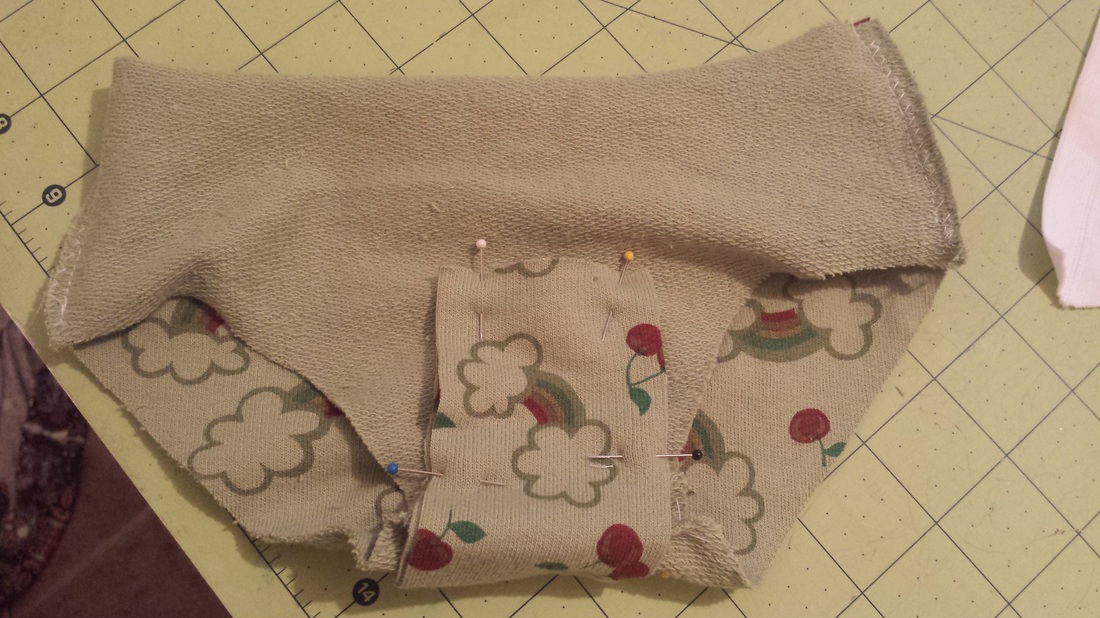 Now you will take two of your leg band pieces and. with right sides together, sew both ends closed. Turn it inside out and repeat with the other leg band
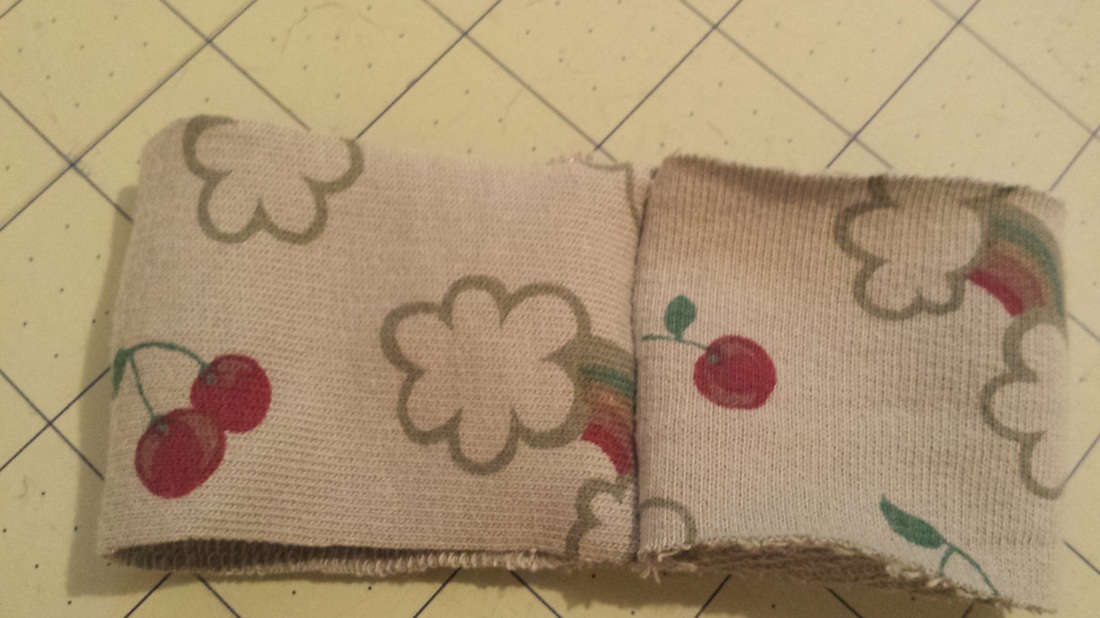
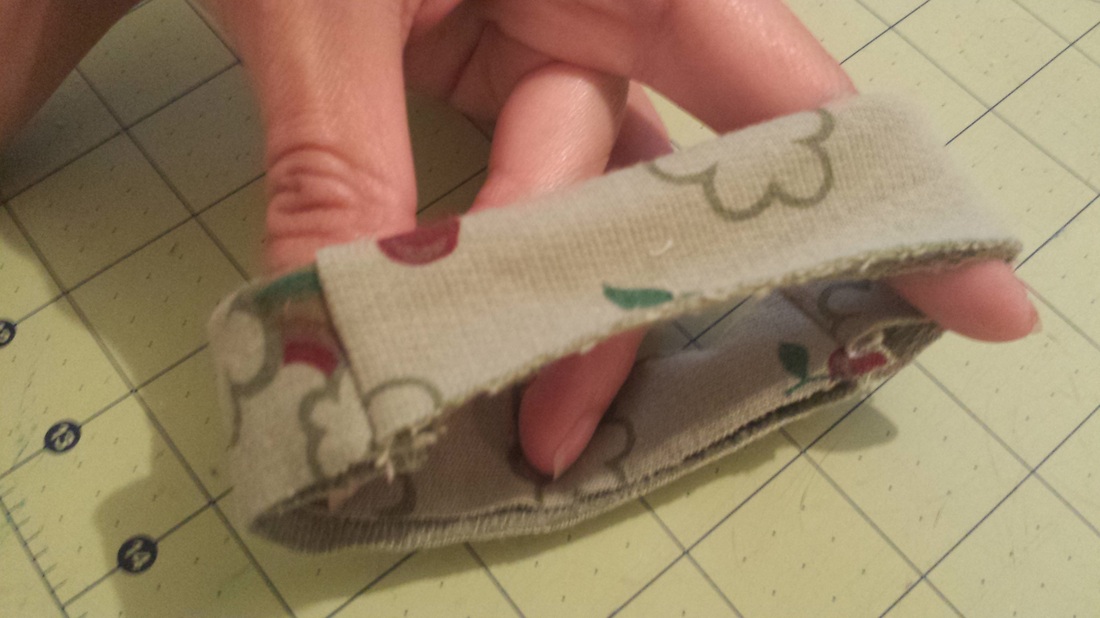
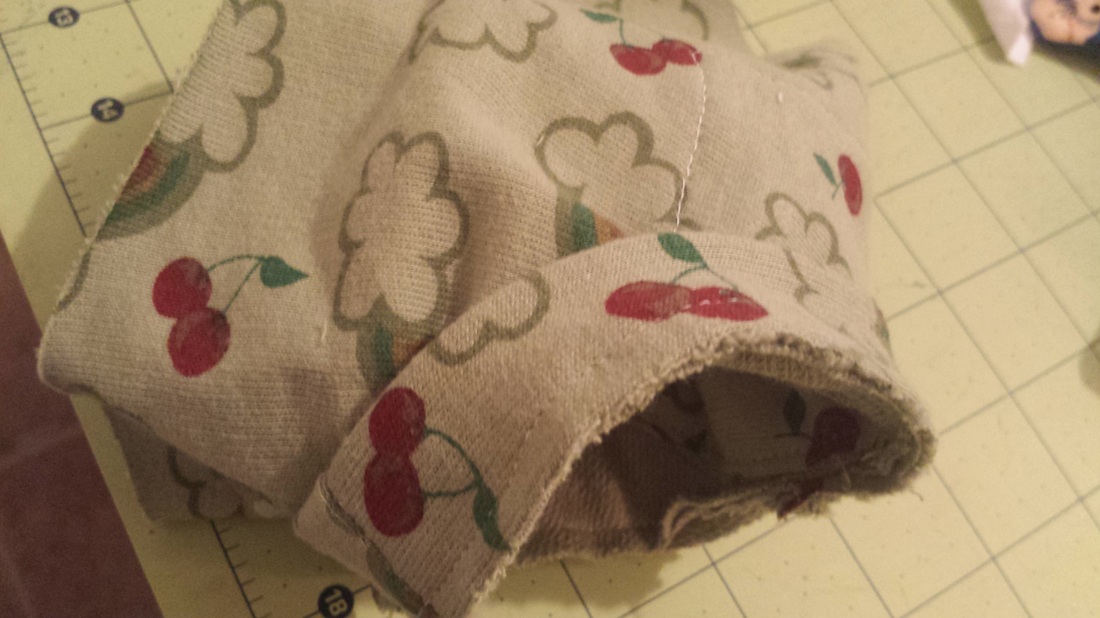
Next, take your leg band and fold it in half, right side (print side) facing out. Holding it open with your hand, stretch it over the leg opening of the underwear piece, which is right side out. Pin the leg band to the underwear piece, with all of the raw edges lying flat together. Sew along the edge, making sure to catch all three of the layers. When you turn it out, it should look like a cuff (see bottom photo). Repeat this with the other leg opening. You will do the same with the waistband. If you cut two shorter pieces, the steps will be identical to the leg bands, only you will obviously be sewing it to the top of the underwear. If you have one long piece, you will only need to fold it in half lengthwise and close the end with a seam. Sew it to the underwear in the same manner.  Oops! Soaker panel is a lot more crooked than I thought. Oh well! And that is it! You could topstitch around the waist and legs if you choose. If you do, make sure to use a long stitch length and looser tension so that your fabric won't pucker.
If you found this pattern/tutorial helpful, please pin, share and/or comment below. Thank you!
7 Comments
Shell
7/22/2014 06:48:04 am
This is so awesome! I am seriously going to try it! I just don't know what natural fibers are.
Astrid
7/22/2014 07:11:42 am
Natural fibers are fabrics like cotton, wool, hemp, bamboo, etc. They are more comfortable for clothing because they breathe. :)
Mackenzie
9/18/2014 11:54:32 pm
How do the legs and waist stretch after being sewn? Do you stretch the fabric as you sew the holes? Or does the longer stitch length and looser tension just help with this?
Astrid Turner
9/19/2014 12:20:09 am
They stretch because the knit is already stretchy and you are cutting it along the stretch. I found that I need to cut the waistband smaller than her waist size, so that when the knit stretches, it is tighter. On the legs, it is just enough stretch to keep it tight. You may need to adjust for your baby's size, but this is a petite sized pattern, for generally smaller toddlers, the ones that don't fit 2T yet. 3/22/2015 09:21:41 pm
I was seeking this certain information for a very lengthy time. Thanks and good luck.
Sue Short
4/15/2015 06:19:49 am
I love these but can't find the link to the pattern just the instruction.
Tina
5/31/2020 07:14:12 pm
Hi! love how they turned out! the link to the pattern can't be opened. Leave a Reply. |
Meet & GreetHi! My name is Astrid and I am an unschooling, working mama of 3 with an intense need to design, craft and create. Follow me for ideas, tutorials, DIY projects, homeschooling resources and more. Archives
March 2017
Categories
All
|


 RSS Feed
